10 Powerful Canva Design Hacks to Automate a $5k/Month Digital Agency in 2026
Gone are the days when running a professional graphic design agency required expensive, bloated software and years of university training. The democratization of digital tools has completely leveled the playing field for solo entrepreneurs. By mastering specific Canva design hacks, you can build a highly lucrative, automated content creation business that operates on just two hours of daily input.
This case study breaks down the exact operational workflow used to scale a lean digital agency to $5,000 per month in recurring revenue. We will move entirely beyond the basics of simple dragging and dropping. Instead, we are treating this platform as an industrial-scale manufacturing line for high-ticket digital assets.
Whether you are launching a template shop, managing social media for premium clients, or building a print-on-demand empire, speed is your ultimate currency. If you want to increase your income without sitting at a computer all day, you must implement these Canva design hacks. Let us unlock the true potential of automated digital design.
The “Quick Answer” / Key Takeaways Box
- The Agency Mindset: Stop acting like a casual template user. You must operate as a strategic designer focused on strict brand consistency and extreme production efficiency.
- The Efficiency Multiplier: Memorizing hidden toolkit shortcuts (like rapid duplication and layer controls) can literally halve your production time, instantly doubling your effective hourly rate.
- Brand Kit Automation: Centralize your hex codes, typography, and logos in one dashboard. This eliminates decision fatigue and ensures client work is always perfectly on-brand.
- The Bulk Creation Engine: You can generate a month’s worth of social media content in under ten minutes by combining simple spreadsheet data with the bulk create function.
The Agency Mindset: Why Canva Design Hacks Change the Game
Using digital design software effectively is not just about knowing where the buttons are hidden in the interface. It requires a fundamental shift in your operational approach. The true agency mindset means thinking systematically, prioritizing crystal-clear communication, and maintaining strict visual consistency.
When you implement professional Canva design hacks, you transition from a hobbyist into a highly efficient digital creator. This mindset is built upon three pillars: organization, consistency, and relentless efficiency. A cluttered account inevitably leads to a cluttered, slow workflow.
You must immediately establish strict folder structures for your projects. Create dedicated folders for different client deliverables, such as social media graphics, blog headers, or presentation decks. You also need a centralized asset folder for frequently used elements, custom vectors, and high-resolution logos.
Consistency builds immediate market trust. Your audience—or your client’s audience—should be able to recognize a brand’s content from a single, split-second glance. This level of recognition only comes from the disciplined, unvarying use of core colors, specific font pairings, and a cohesive visual style. Efficiency creates operational momentum, allowing you to maximize output in your two-hour daily work window.
Master the Hidden Toolkit to Speed Up Your Canva Design Hacks
The primary toolbar holds significantly more power than most casual users ever realize. Beyond the basic text and upload buttons lie critical features that can dramatically speed up your workflow. Learning these hidden tools is like discovering secret leverage points in your business; they make complex client requests incredibly simple.
Mastering the toolkit is the mandatory first step toward scaling your output. For example, the Position Tool is your best friend for achieving perfect mathematical alignment. Instead of manually dragging elements and guessing, select multiple elements and use the position button to instantly distribute them evenly across the canvas.
Another game-changing feature is the Transparency (Opacity) Slider. Adjusting the transparency of elements, especially background photos and overlay shapes, creates premium, beautiful overlays. Locking elements is another critical maneuver. By right-clicking a background layer and selecting “Lock,” you prevent accidental movements while adjusting complex foreground text.
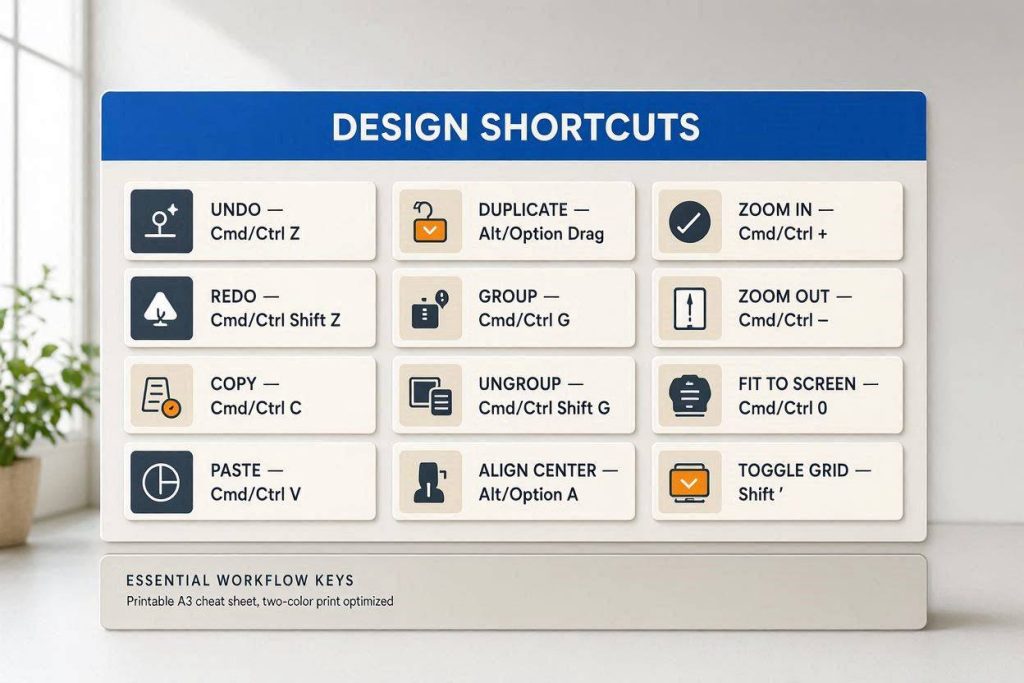
However, the ultimate speed multipliers are keyboard shortcuts. Incorporating shortcuts into your daily routine is one of the most vital Canva design hacks for agency owners.
- Duplicate Instantly: Pressing Ctrl/Cmd + D instantly copies and pastes a selected element in the exact same spatial relationship. This is perfect for rapidly building structured lists.
- Group Elements: Pressing Ctrl/Cmd + G locks multiple elements together. You can then move them as one solid unit, which is essential for complex layout designs.
- Layer Control: Using Ctrl/Cmd + [ or ] allows you to seamlessly send elements backward or bring them forward without ever opening a right-click menu.
Brand Kit Mastery: Automating Consistency for High-Paying Clients
The Brand Kit is the single most powerful feature for solo agency owners managing multiple clients. It acts as a central hub where you securely save your brand’s precise colors, fonts, and logos. Once configured, your Brand Kit ensures that every single design you create is automatically aligned with the client’s identity.
It completely eliminates the exhausting guesswork of hunting down hex codes or remembering obscure font names. For any professional operating a digital agency, configuring this hub is a non-negotiable foundation. A properly configured Brand Kit acts as your automated design co-pilot.
You must include all variations of a client’s logo, including primary, secondary, and transparent watermark versions. Input the exact primary, secondary, and accent hex codes into the color palette section. Lock in the specific headline and body fonts so they always default to the top of your text menu.
When you add a new text box, your brand fonts will immediately appear, saving you from scrolling through thousands of options. When selecting a color for a background shape, your approved palette is instantly available. You can even set your brand colors as default document colors to make them universally accessible, which is one of the smartest Canva design hacks for volume creators.
The Premium Upgrade: Monetizing with Advanced SaaS Tools
To execute these high-level Canva design hacks at a professional scale, you cannot rely entirely on free software tiers. You need an integrated technology stack to manage clients, deliver assets, and process payments securely.
1. Enterprise Design Software (via Impact or PartnerStack) Upgrading to premium design tiers unlocks the Brand Kit, Background Remover, and Magic Resize features. If you are building a business, this is not an expense; it is a core operational utility. You can often find promotional trials or affiliate sign-ups through B2B networks like Impact to offset initial costs.
2. Client Delivery via Kit (Formerly ConvertKit) Once you design a massive batch of social media templates, you need a way to deliver them and nurture the client relationship. Kit is the gold standard for automated email delivery. You can set up a secure sequence that automatically emails the client their editable template links the moment their invoice clears.
3. Payment Processing via Payhip or Stripe To maintain a lean two-hour workday, your checkout process must be frictionless. Link your automated email sequences directly to a storefront like Payhip. When a customer buys your digital design package, the system automatically processes the payment and delivers the digital asset link instantly, allowing you to scale your revenue without manual intervention.
[EXTERNAL LINK: How to Automate Your Digital Product Delivery Systems]
Deconstructing Templates: High-Volume Asset Creation
Pre-made templates are the ultimate gateway to rapid design, but relying on them too heavily without alteration can make your brand look cheap and generic. The magic happens when you learn to brutally deconstruct a template and rebuild it in your own distinct image.
This process involves identifying the underlying structural core of a good design and then aggressively swapping out every single element. This allows you to create an endless supply of unique graphics that feel entirely bespoke. A template is just a skeletal framework; your brand identity is the skin you layer onto it.
Start by analyzing the layout structure. Is the headline at the top with an image on the left? Keep the geometry, but replace the default color scheme with your specific Brand Kit palette. Change all the typography to your designated brand fonts.
Next, you must swap out the imagery. Replace generic stock photos with your own proprietary photos or highly relevant, premium stock images. Finally, update the supporting graphics. Change out the default icons and background shapes to match your brand’s specific aesthetic. By the end of this process, the original template should be completely unrecognizable.
Advanced Text and Typography: Charging Premium Rates
Text formatting is often the most neglected element in amateur digital design. Moving beyond simply typing words involves understanding how to use typography to create hierarchy, emotion, and readability. Utilizing advanced text adjustments is one of the most lucrative Canva design hacks you can master.
The platform offers a suite of text tools that go far beyond just choosing a basic font. By mastering precise spacing, subtle effects, and strategic pairing, you can make your text a beautiful, central part of your design. Professional-looking text is entirely about micro-control and subtlety.
Adjusting Letter Spacing (Tracking) is vital. Increasing the space slightly between letters in ALL CAPS headlines can make them feel significantly more elegant and premium. Similarly, adjusting Line Height (Leading) is crucial for readability. Increasing the space between lines of body text prevents your design from feeling cramped and amateurish.
Always utilize structural Text Effects rather than cheap, gaudy filters. Use subtle enhancements like the “Lift” effect to add a gentle, realistic drop shadow behind text, pulling it forward from busy backgrounds. For font pairing, the golden rule is stark contrast. Pair a heavy, bold headline font with a clean, minimalist sans-serif body font to establish immediate visual hierarchy.
The Ultimate Guide to High-Converting Landing Page Typography
Photo Editing and Effects: Eliminating the Need for Photoshop
The built-in photo editor is surprisingly powerful and can completely save you a trip to heavy, complex software like Photoshop. Instead of just slapping on a generic, degraded filter, you can manually adjust specific photographic parameters. You have full control over brightness, contrast, and saturation to make your client images pop.
Taking control of your raw photo editing elevates the entire premium feel of your design deliverables. The primary adjustment tab is where you fix underexposed images and add subtle texture. Increase contrast to make flat images dynamic, and boost clarity to add crisp sharpness to product photography.
The Background Remover tool is an absolute necessity for agency work. It instantly creates flawless cutouts of products or portrait subjects, allowing you to drop them onto branded backgrounds. This single feature justifies the use of premium design software tiers entirely.
To save massive amounts of time, you must create customized editing presets. Edit one single photo perfectly, adjusting the brightness and warmth to match your brand vibe. Then, copy those exact adjustment settings and instantly paste them across fifty other photos in your project. This batch-editing workflow is one of the most protective Canva design hacks for your daily time limit.
Leveraging Elements and Motion Graphics for Social Media
Graphic elements—such as custom shapes, icons, and vectors—are the glue that holds a high-ticket design together. They are not just random decorations; they are functional, structural tools. Elements guide the viewer’s eye, separate dense text sections, and emphasize critical marketing information.
Using these elements strategically transforms a flat layout into a dynamic visual experience. You must use them with deliberate purpose, not just to fill empty white space. For example, use colored rectangle shapes as solid background panels to make text legible over highly complex photographs.
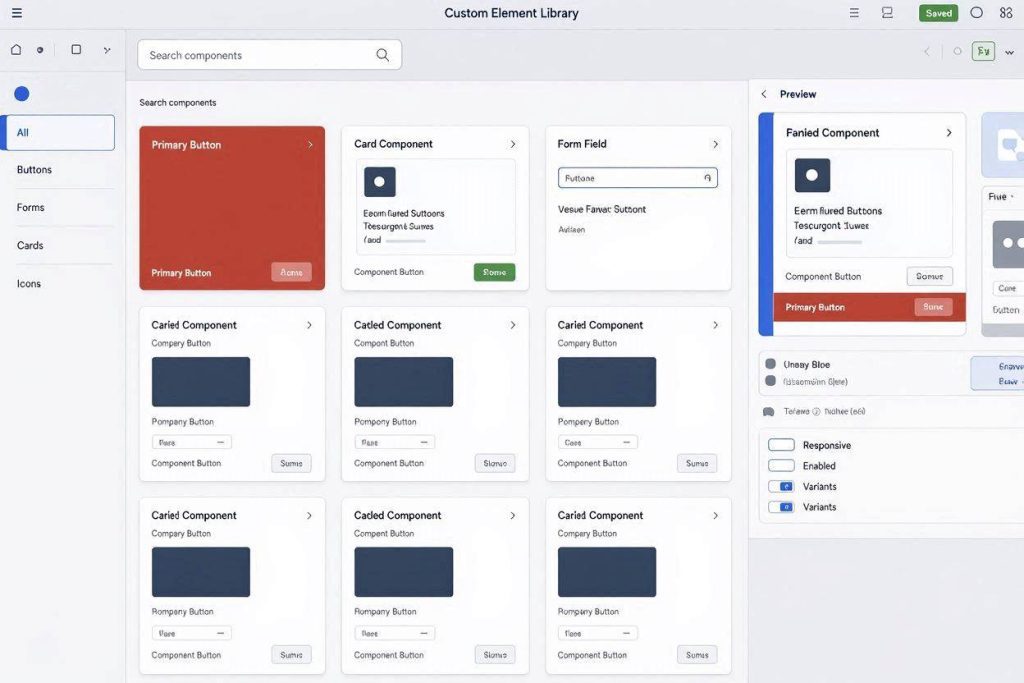
Use simple, consistent-style icons to visualize concepts quickly, such as dropping a sleek phone icon next to a call-to-action number. To save time, you must build a custom element library. Find your ten most versatile, frequently used graphics and save them directly into your “My Assets” folder so you never have to search for them again.
Furthermore, static images are powerful, but motion dictates algorithms. You must use basic animation tools to add professional movement to your client deliverables. Use subtle “Fade In” or “Pan” animations to guide the viewer’s eye. The key to premium animation is restraint; use only two animation styles maximum per design to avoid looking chaotic.
Efficiency Workflows: Bulk Creation and Export Mastery
Time is your most valuable resource as a solo operator. To maintain a strict two-hour workday, you must leverage automation features designed to handle repetitive, low-level tasks. Mastering these efficiency protocols is what permanently separates casual users from highly paid digital agency owners.
The absolute pinnacle of these Canva design hacks is the Bulk Create function. This feature allows you to automatically generate dozens of unique designs instantly. You simply upload a basic spreadsheet containing variable text data, such as thirty different motivational quotes or industry tips.
The software then maps those data rows to a master template, instantly generating thirty perfectly formatted, branded graphics. This workflow allows you to create an entire month’s worth of social media content for a client in exactly four minutes. This is the exact mechanism that allows you to scale your income without scaling your working hours.
Finally, a beautiful design can be completely ruined by selecting the wrong export settings. Knowing the correct mathematical format for your intended platform is the final, critical step. Export PNG files for graphics that require crisp text or transparent backgrounds.
Use JPG for heavy, complex photographs to keep file sizes manageable for website loading speeds. Always use the pre-set dimension templates for social platforms to guarantee your design displays flawlessly on mobile devices without unwanted cropping.
Strategic Critique: Stress-Testing the Concept
What are the problems with this idea that we are not seeing?
The biggest unseen problem with running a highly automated, template-based digital agency is the rapid commoditization of design. As AI design generation becomes more prevalent natively within browsers, the perceived value of “basic” social media graphics is plummeting. Clients are increasingly unwilling to pay $1,000+ per month for static quote cards, even if they look beautiful. Furthermore, relying entirely on the “Bulk Create” spreadsheet method can result in content that looks visibly robotic and lacks the nuanced storytelling required to actually build a brand’s community.
What assumptions are we making that might not be true?
We are making a massive assumption that clients will seamlessly adapt to the templates you deliver without demanding endless, minor revisions. In reality, freelance design clients are notorious for requesting microscopic tweaks (e.g., “Can you make the logo 5% bigger?”). If you operate on a strict 2-hour-per-day schedule, dealing with revision loops will instantly shatter your time constraints. We are also assuming that a perfectly organized Brand Kit guarantees good design; a user with terrible aesthetic judgment can still create ugly graphics, even if the hex codes are technically correct.
If this idea failed, what would be the most likely reason?
If this business model failed, it would most likely be due to a failure in client acquisition and positioning, not a failure of the Canva design hacks themselves. You can be the fastest, most efficient bulk-creator in the world, but if you position yourself as a “Canva designer,” you will be competing on price in a race to the bottom against cheap overseas labor. Failure happens when a creator sells “graphics” instead of selling “time saved and revenue generated” to high-ticket business owners.