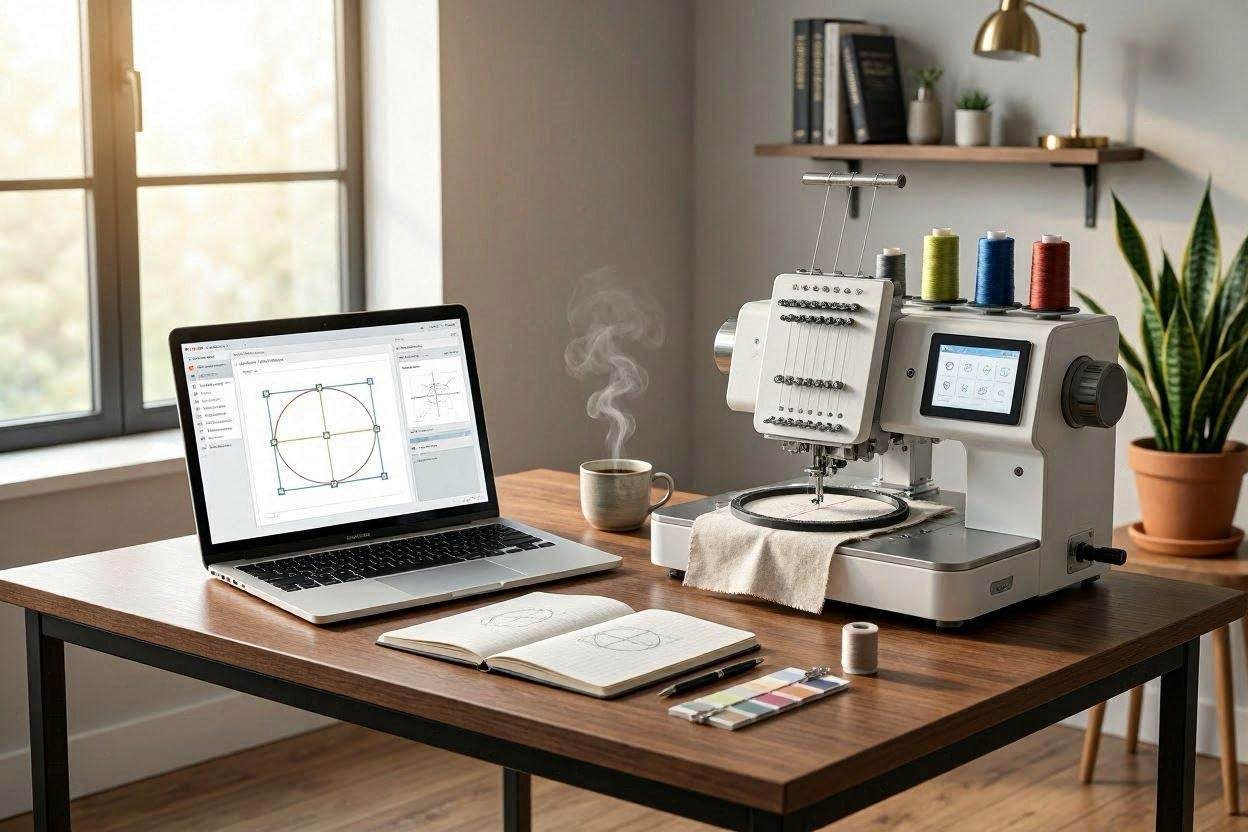
7 Powerful Steps to Convert Vector to Embroidery for Passive Income in 2026
If you want to build a high-margin digital asset business, learning how to convert vector to embroidery is one of the most profitable skills you can acquire. In today’s modern creator economy, bridging the gap between a simple graphic illustration and a complex physical stitch file unlocks a massive audience. You are targeting a passionate market of eager hobbyists and commercial buyers who desperately need high-quality digital files.
This comprehensive workflow breaks down the exact operational strategy used to scale a digital file business from zero to consistent daily sales. By treating your graphic designs as structural engineering blueprints, you can establish a hands-off passive income stream. We will map out the precise technical parameters, formatting rules, and e-commerce strategies required to convert vector to embroidery flawlessly.
The “Quick Answer” / Key Takeaways
- Massive Market Demand: The digital marketplace for physical craft files is exploding, allowing you to sell files infinitely with zero inventory or shipping costs.
- Format Diversification: To maximize revenue, you must export your final designs into at least 10 different machine-specific formats (PES, DST, JEF, etc.).
- Sequential Logic: Embroidery machines read linear data. Proper layer grouping prevents ugly thread jumps and catastrophic fabric jams.
- Premium Presentation: High-quality 3D rendered mockups and professional PDF instruction sheets separate amateur stores from high-ticket digital brands.
Step 1: The File Format Strategy for Total Market Dominance
Before manipulating paths and nodes, you must deeply understand the hardware your customers are using. If you want to successfully convert vector to embroidery, you have to speak the specific language of multiple machine manufacturers. You cannot simply save an SVG file and expect a sewing machine to read it.
Customers on digital platforms do not want to figure out technical settings. They want a frictionless, plug-and-play experience. If a customer downloads your design and their machine breaks the thread or misaligns the fabric, your brand reputation will instantly tank.
To convert vector to embroidery for a global market, your export portfolio must aggressively include these specific formats:
Primary Commercial and Domestic Formats
The absolute core of your business will rely on a few dominant file types. PES (Brother, Baby Lock, Bernina) is the undisputed king of the home-crafting market. It stores highly detailed stitch information alongside mapped color changes. Providing this file is mandatory to convert vector to embroidery effectively; if you fail to include PES, you are abandoning millions of potential buyers.
For the industrial side, DST (Tajima & Commercial Machines) is the universal standard for commercial embroidery shops. It lacks inherent color palette data but contains bulletproof coordinate mapping for high-speed production. You must also include JEF (Janome, Elna, Kenmore), which is highly requested by crafters specializing in home decor and boutique apparel. Finally, HUS (Husqvarna Viking) and EXP (Melco) are critical for reaching high-end sewing enthusiasts and professional-grade commercial factories.
Secondary Formats for Complete Coverage
To capture the entire market, you must offer secondary legacy formats. XXX (Singer) is vital given the massive heritage of the Singer brand among entry-level sewists. You must convert vector to embroidery for the budget-conscious crafter as well.
Additionally, include VIP & VP3 (Pfaff & Husqvarna Viking) to manage complex layout details for premium European machines. Do not forget SEW (Janome, Elna, Kenmore) for older domestic machines, and ART (Bernina) to demonstrate an elite level of attention to detail that breeds immense customer loyalty.
The Ultimate Guide to Pricing Digital Craft Downloads
Step 2: Pre-Production and Vector Layer Sequencing
The absolute foundation of a flawless physical sew-out is meticulous layer management in your digital workspace. Unlike static web graphics that render simultaneously on a screen, an embroidery machine reads your file as a strict linear sequence of mechanical movements. To successfully convert vector to embroidery, your layers panel must dictate the exact chronological order of the stitching process.
Grouping and Isolating Fine Details
Open your vector editing workspace and expose the layers panel. You must actively deconstruct your illustration from the ground up. Select your finest graphic elements first, such as tiny eye highlights on a character design. Group these specific vector elements together immediately and rename this isolated group cleanly to maintain a surgical workspace.
Sequential Detail Nesting
Next, select the primary shapes that sit directly beneath those highlights. Group the primary shapes and the secondary highlights together sequentially. By grouping these elements, you prevent the machine’s needle from jumping randomly across the fabric. Unnecessary jumping creates messy threads on the back of the garment and wastes valuable production time.
[IMAGE PLACEHOLDER: A screenshot of a cleanly organized vector layers panel showing elements stacked from background fills to foreground details + Vector layer organization for embroidery digitizing.]
Typographical Structuring
If your design incorporates lettering, you cannot treat a word as a single object. You must structure each individual letter independently. Select your text elements and rename them letter by letter. To ensure a logical sewing motion, create a strict stacking sequence in your layers panel. This guarantees that when you convert vector to embroidery, the text emerges naturally without snagging the underlying fabric.
Background to Foreground Hierarchy
Arrange your primary layers strictly from back to front. The foundational background fill must sit at the absolute bottom of your layers panel. Follow this with the mid-ground details, and finally place the intricate borders or highlights at the very top. Because the top layers stitch last, they will cleanly cover the raw edges of the background fills beneath them.
Step 3: Applying Mathematical Stitch Parameters
With your layers properly sequenced, you must assign mathematical stitch parameters to the flat vector shapes. This is the core transformation process where you truly convert vector to embroidery. You will define the density, the tension, and the exact physical angles of the thread.
Transforming Borders into Satin Stitches
Select your outermost border layer and open your digitizing parameter dialog box. You must transform the standard vector stroke into a zigzag or satin stitch. The satin stitch weaves tightly back and forth, creating a raised, incredibly beautiful border that locks the interior design in place. Adjust the width of the zigzag to ensure it covers raw fabric edges without becoming loose and vulnerable to snagging.
Automating the Background Fill
Select the largest background shape in your design and apply an “Auto Fill” or tatami stitch. This option calculates a dense, interlocking pattern across large open spaces. However, leaving the default software settings is a critical mistake.
To prevent the physical fabric from puckering or warping under the tension of thousands of stitches, you must adjust the stitching angle. Change the primary fill angle to 45 degrees. This diagonal path distributes the thread tension evenly across the weave of the underlying garment.
Contrasting Angles for Detail Layers
Select your mid-ground detail layers and apply a secondary fill stitch, but consciously change the stitching angle to 70 degrees or 90 degrees. By contrasting the stitch angles against the 45-degree background, you create a rich, three-dimensional texture. The light will catch the varying thread directions, giving your design a premium, commercial-grade appearance.
[EXTERNAL LINK: Understanding Fabric Pull Compensation and Thread Tension Rules]
Step 4: Troubleshooting Pathing and Corner Defects
When you convert vector to embroidery, digital miscalculations easily manifest in sharp corners and complex curves. Before finalizing the file, you must run a virtual simulation to spot mechanical defects. Learning to streamline these mechanical issues is what allows you to convert vector to embroidery at an elite level.
Launching the Digital Stitch Simulator
Highlight your entire sequenced design and launch the software’s stitch simulator. This tool generates a real-time, animated preview of the needle’s exact path. As you watch the virtual sew-out, pay close attention to the sharpest corners of your satin borders and the transition points between color blocks.
Resolving Overlapping Thread Jams
If you notice stitch gaps, aggressive thread overlapping, or messy corners in the simulation, you must intervene immediately. Close the simulator and isolate the problematic border vector. Convert the raw stroke outline into a closed path shape.
Instead of forcing a zigzag stroke around a sharp corner, apply a standard Auto Fill to this newly created closed path. This method cleanly rounds out the tight corners, preventing the needle from repeatedly striking the exact same millimeter of fabric, which causes severe thread jams and broken needles.
Optimizing the Final Thread Palette
Adjust the visual colors in your workspace to perfectly match the physical thread spools you intend the customer to use. Run the simulator one final time to verify that color changes are minimized. Every time the machine has to change colors, the hardware stops, costing the user valuable time. Consolidate your color groups to make the design as efficient as possible.
Step 5: Generating Photorealistic E-Commerce Renders
To successfully sell digital assets, your visual presentation must be flawless. Customers cannot touch the physical thread before buying, so you must simulate it for them. When you convert vector to embroidery, the final software step is generating a photorealistic marketing asset.
Access the 3D realistic preview tool within your digitizing software. Enable the high-quality render settings. This instructs the software engine to apply artificial light-shading, drop shadows, and hyper-realistic thread textures to the flat digital lines.
Allow the system to render the image completely, and export it as a high-resolution PNG. This realistic mockup becomes the hero image for your store listings and marketing campaigns. It is the critical conversion mechanism that turns a casual browser into a paying customer.
[IMAGE PLACEHOLDER: A hyper-realistic 3D software render showing a close-up of digital embroidery stitches with simulated lighting and shadow + High quality 3D render of digitized embroidery file.]
Step 6: The Ultimate File Packaging Protocol
To build a trusted brand that generates repeat buyers, you must package your files impeccably. When a customer purchases your design, they should open a beautifully organized digital folder, not a chaotic mess of unnamed files. Follow this exact packaging protocol every time you convert vector to embroidery for retail sale.
First, consolidate all exported machine formats (PES, DST, JEF, HUS, EXP, XXX, VIP, VP3, SEW, ART) into one neatly labeled Master ZIP Archive. This prevents the customer from having to download ten separate files.
Second, every premium listing must include a comprehensive Production PDF datasheet. This acts as the customer’s instruction manual. It must contain a full color-way chart detailing exact thread names, the precise chronological order of stitching, and the exact physical dimensions of the completed design. You must also include the total stitch count, allowing commercial shops to accurately calculate their machine run-times.
Finally, draft a plain-text document clearly outlining your commercial use licensing policy. Specify whether the buyer is permitted to sell the physical garments they create, and explicitly forbid the resale of the digital files themselves.
Step 7: The Passive Income E-Commerce Stack (The Affiliate / Monetization Section)
Creating the files is only the first part of the equation. To truly scale a digital products business without trading hours for dollars, you need to implement high-level SaaS automation and marketing tools. Building a robust tech stack ensures your storefront operates autonomously.
If you are looking to maximize your passive income, do not rely solely on marketplace algorithms. You must build your own ecosystem using premium, high-ticket integrations.
Premium Upgrades for Digital Creators
Transitioning your best-selling files to a standalone Shopify (via Impact Network) store protects you from sudden algorithm changes and competitor ads. Setting up an automated digital delivery app within Shopify ensures customers receive their ZIP files instantly upon payment, creating a totally hands-off fulfillment process.
To drive massive organic traffic to your new store, leverage Canva Pro (via Impact). You will need Canva Pro to batch-create hundreds of Pinterest pins using your 3D rendered mockups. Canva’s bulk-create feature allows you to generate massive amounts of traffic-driving graphics in minutes, pointing directly to your product listings.
Finally, capture buyer emails by offering a free starter design. Once they are on your list, use Kit – formerly ConvertKit (via PartnerStack) to send automated weekly emails highlighting your newest premium designs. Because the margins on digital files are 100%, leveraging Kit for automated email marketing becomes pure profit.
Strategic Critique: Stress-Testing the Concept
What are the problems with this idea that we are not seeing? The primary hidden danger in this model is file theft and rampant digital piracy. Because you are selling naked ZIP files containing unprotected machine formats, bad actors can easily purchase your design once and illegally redistribute it on third-party forums or copycat storefronts. Furthermore, providing customer support for user-end hardware failures—where a customer blames your perfectly digitized file because their cheap machine has dull needles or poor tension—can become a massive time sink that rapidly erodes the “passive” nature of the income.
What assumptions are we making that might not be true? We are heavily assuming that automatic digitizing software features (like auto-fill parameters) can perfectly handle any vector shape you throw at them. In reality, complex vectors with massive gradients, extreme micro-details, or distressed textures often fail spectacularly when auto-digitized, requiring hours of manual node-pushing. We are also assuming the end-user understands basic machine maintenance; a flawlessly digitized file will still look terrible if the customer’s bobbin tension is mathematically incorrect.
If this idea failed, what would be the most likely reason? If this business model fails, it will almost certainly be due to a lack of rigorous pre-launch physical testing. If a creator skips the physical test-stitch phase and uploads a digital file with hidden overlapping nodes or severe pull-compensation errors, the resulting negative reviews will permanently destroy the store’s ranking algorithm. In the digital crafting space, trust is the absolute only currency; a single corrupted file can ruin a brand’s reputation overnight.